

Build Article - Sepecat Jaguar A Kitty Hawk 1/48 (part 4)

The mis-numbering of the instructions is the low-point of this kit. Things have gotten to the point where if anything is handed (slats, flaps, gear) I can safely assume it is numbered wrong; following the drawing and dry-fitting is a better way.
The intakes have been assembled, (interior) painted and glued onto the fuselage. Some sanding of the inner surface (where it mates with the splitter) ensures the outer surfaces are flush.
Sanding the inside surface saves me from losing the panel details if we putty and sand the outsides.

The wing tip lights (clear parts) were glued on. Fit is near-perfect. Once the glue has dried, sanding with 3M sanding sponges and polishing with a nail-file makes it completely flush with the wing profile.
The green stuff is liquid masking.

The top spine of the fuselage needed extensive putty-sanding. Here it is primed to check if it needed further work.

The vertical stabilizer is made up from three parts, with a join line passing through panel and rivet lines. Weird choice of parts breakdown that causes unnecessary putty work.
Modelling vs assembling and all that argument, but life's too short for bad kits.
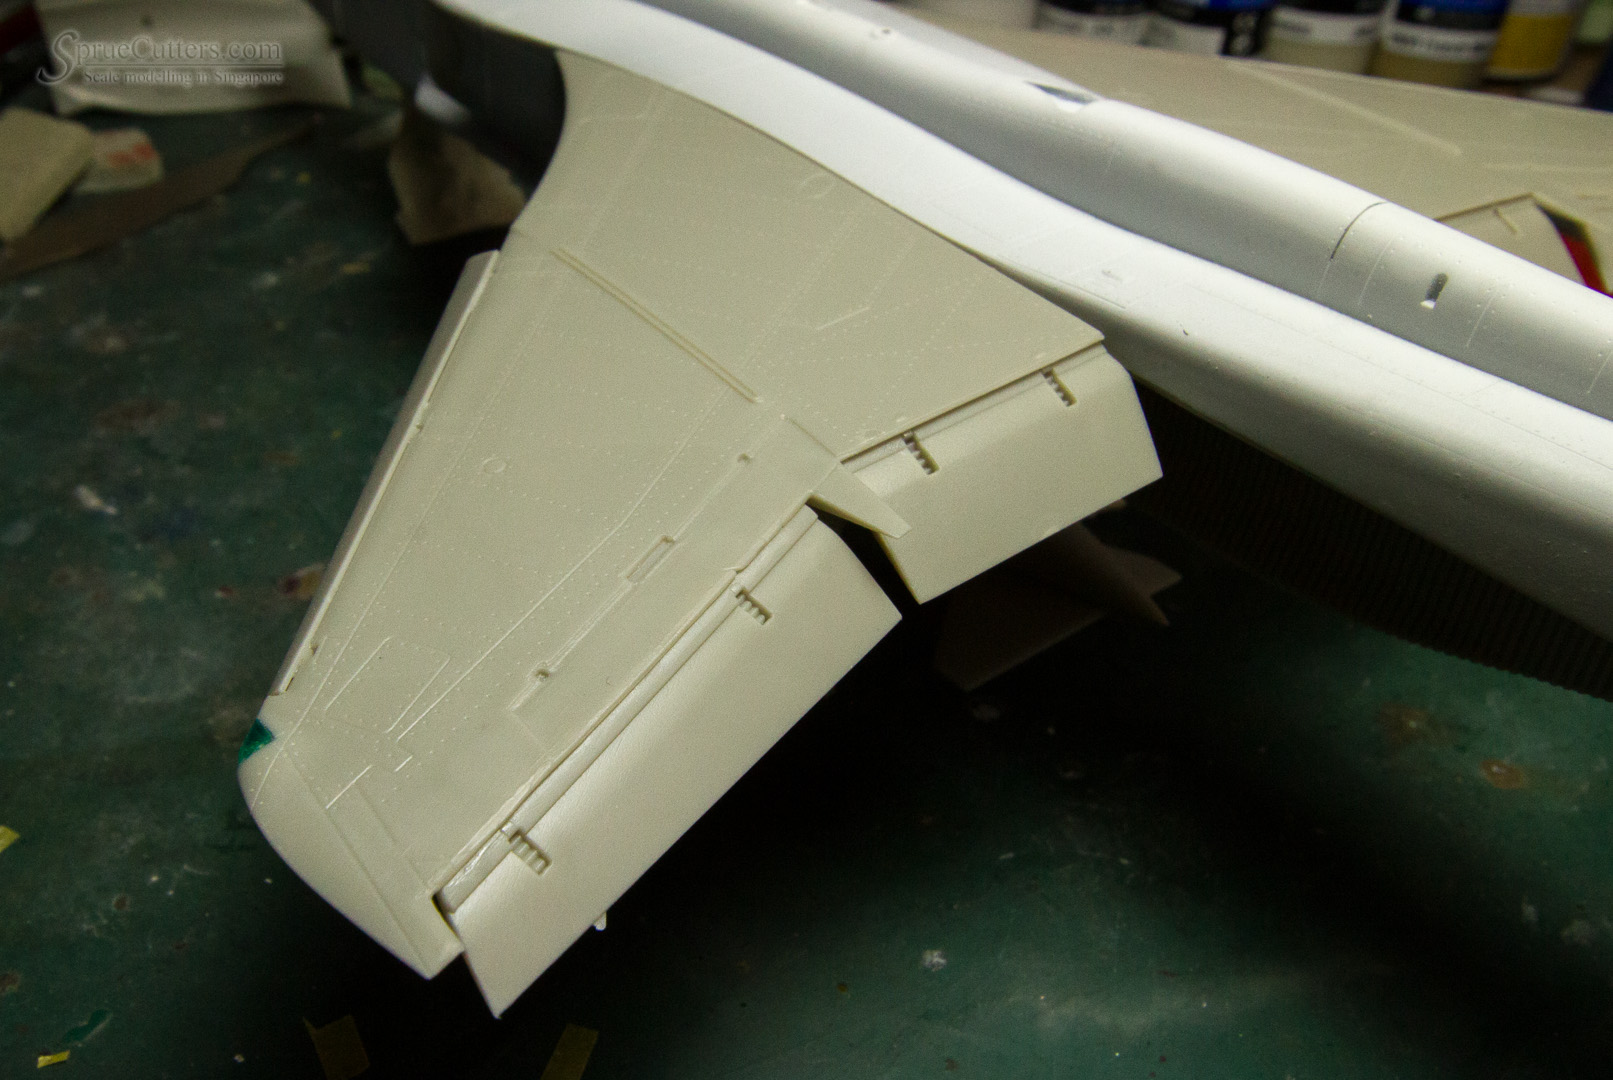
Flaps and slats assembled in the kit-supplied dropped positions. This does lend some visual interest. Pretty uneventful here. The front edge has that infamous “wrong” kink shape.

Engine exhaust section airbrushed with Aclad II Aluminium. Not painting the rest of the engine since I am closing up the engine sections.
The “feathers” will be brush painted a darker shade of metal later.