

Speed build - Airfix 1/48 P-51 Mustang "Dooleybird"
Part 2/3

Sat 3:10pm - Fuselage halves glued together.

Sat 3:10pm - I used superglue to fill the joints between the fuselage halves. This allowed me to quickly eliminate the seam without waiting for putty to dry.
Sat 3:11pm - After sanding, the recessed panel lines were restored using saw-scribers.

Sat 4:10pm - The starboard fuselage part was slight warped, leading to a large step.
This was filled using superglue, then baking powder was sprinkled on as an accelerator.
Several layers were applied to build up the needed height.

Sat 4:20pm - Sanding with grit 400 sandpaper and working up to a fingernail file eliminated the step.

Sat 4:55pm - The underwing ID lights were painted with clear acrylics. Molotow chrome was applied inside the wing top. This will reflect light.

Sat 4:55pm - Realistic lights.

Sat 5:27pm - I switched over to Ammo Mig acrylic Interior Green. This covers better than the Humbrol acrylic, for brush painting.

Sat 7:15pm - The gun barrel holes were deepened using a selection of micro drill bits.

Sat 7:23pm - Here's everything up to this point of the build.

Sat 8:08pm - The propeller shaft parts fit well.

Sat 8:08pm - The kit offers raised or dropped flap parts.
I chose the dropped flaps for a more interesting model. The parts fit so well, no glue was used here.

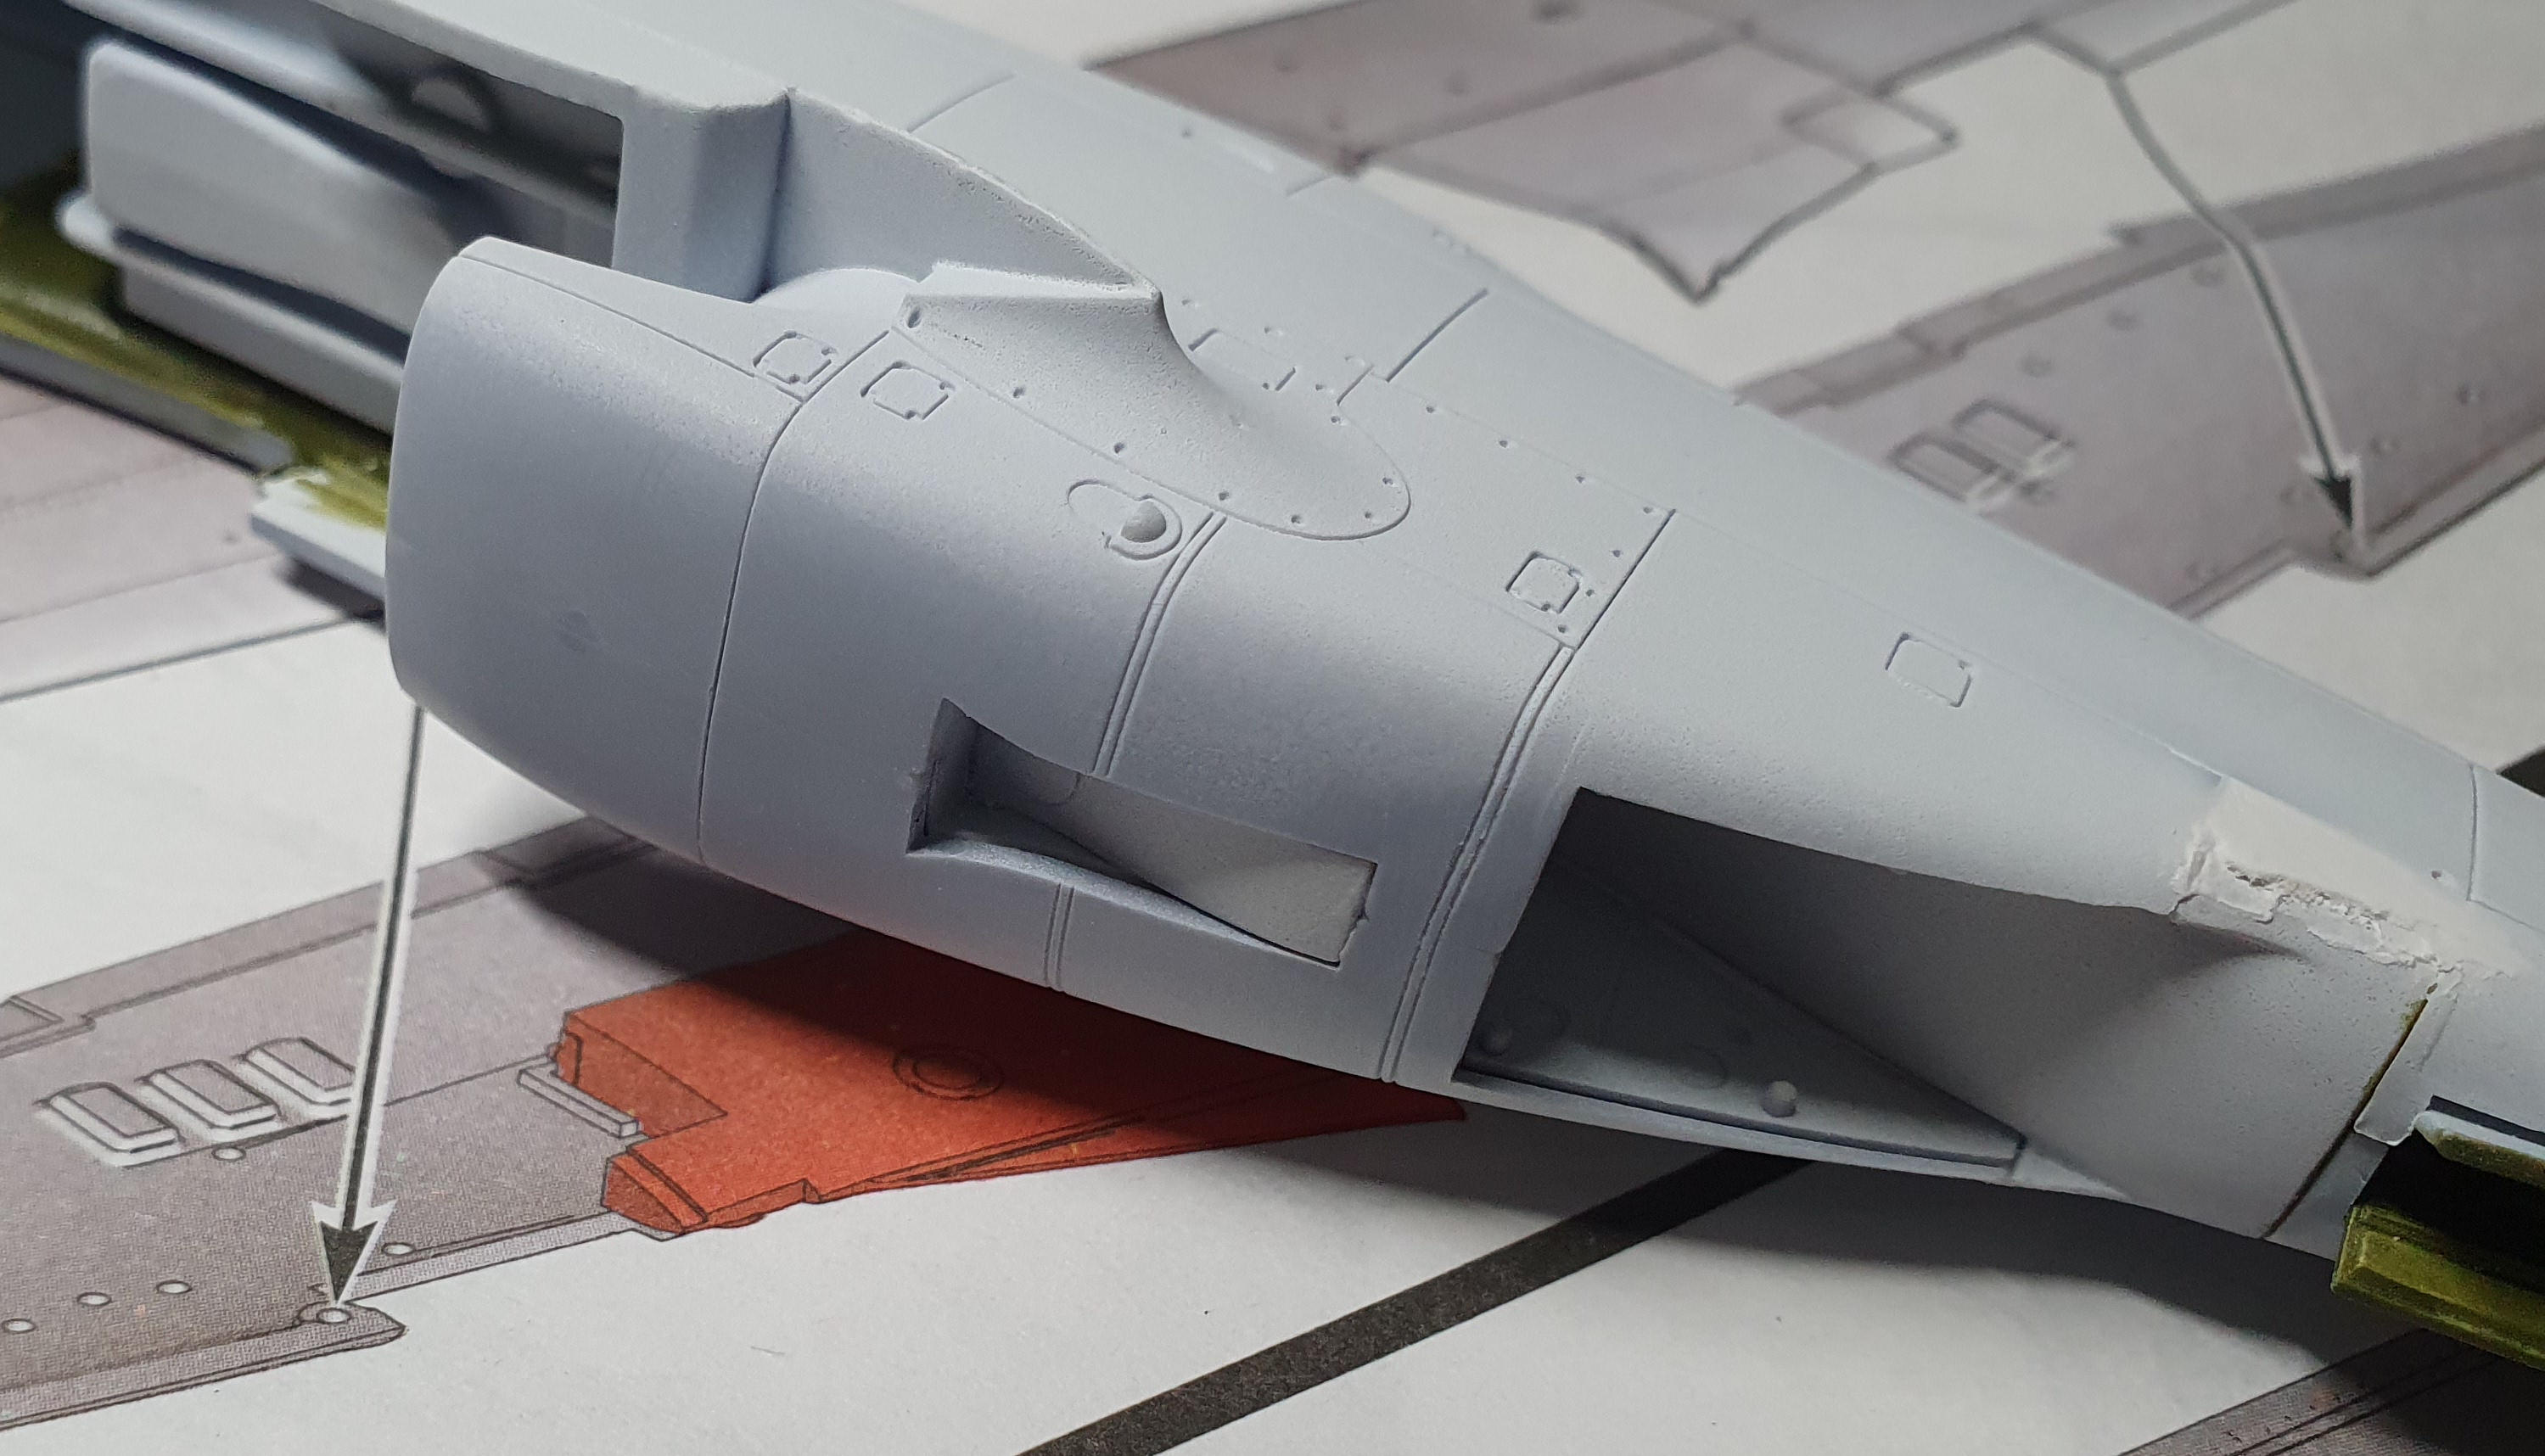
Sat 8:11pm - The air inlet was a separate part.
Again, excellent fit in this new Airfix kit.

Sat 8:39pm - I drilled out the exhaust pipes.

Sat 9:15pm - The rudder and elevator parts fit very well.
I dropped the elevators and canted the rudder slightly right.

Sat 9:56pm - The front cowl and gun sight were painted using Rubber Black.

Sat 10:02pm - Then the cowl was glued inside the wind screen.
Airfix moulded the windscreen with part of the fuselage. This makes a cleaner joint than how Tamiya moulded their Mustang.

Sat 10:12pm - The canopy interior frame parts were brush painted interior green, then glued in place.

Sat 10:34pm - I intend to use the canopy itself to mask the cockpit.
Added a lip of masking tape to avoid any paint ingress.

Sat 10:34pm - The windscreen and canopy were glued using Deluxe Materials Glue 'n' Glaze.


Sat 10:37pm - To promote paint adhesion, the clear part was roughed up using 3M sanding sponge.

Sat 10:51pm - The wheel well was masked using white tac and masking tape.

Sat 11:00pm - A final coat of Matt White was blasted on.

Sat 11:07pm - A final check of seams before painting silver.

Sat 11:54pm - Humbrol silver spray paint covers quickly.

Sun 12:04am - Here's the silver painted Mustang.

Sun 1:32am - Hand painting the tyres using Rubber Black.

Sun 1:35am - The completed main landing gear shaft and wheel.

Sun 2:16am - The gear doors were added, then glued into the wheel well.
Superglue was needed to give a sufficiently strong joint.

Sun 2:26am - The ID lights were masked with Mr. Masking Sol R prior to painting.
Nice and clean now.

Sun 2:53am - Masking the Olive Drab anti-glare area.

Sun 2:57am - First coat of Olive Drab. This is AK Interactive acrylics.

Sun 3:05am - Used a hair dryer to speed up drying.
Un-masking in preparation of painting the yellow stripe.

Sun 3:35am - Matt white was first brush painted, to give better coverage for the subsequent yellow.
Here's the yellow strip painted on the fuselage and canopy.
The Humbrol 26 is a tad paler than the yellow in the roundels.

Sun 3:56am - I did not account for the blue and white checkered decal in the front of the fuselage.
I cut out the decal, then used it to mark out the area to remove the paint.
This should prevent any colour bleeding underneath the white checks.

Sun 4:12am - The decal needed to be sliced in order to fit the complex curve.
Copius amounts of Mr. Mark Softer decal softener was used.

Sun 4:22am - Here's the checkered decal in place.